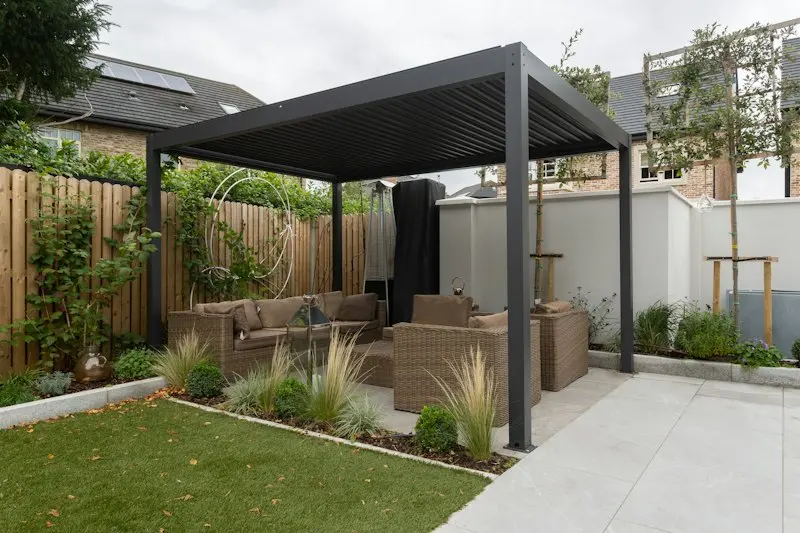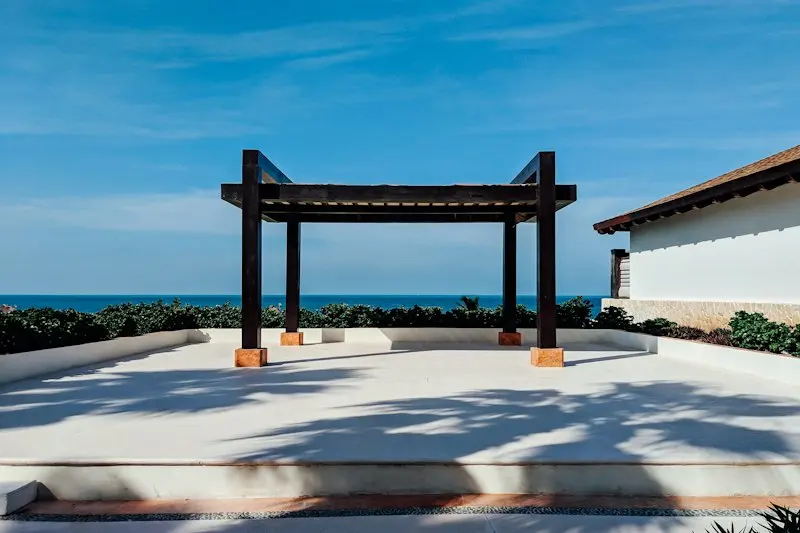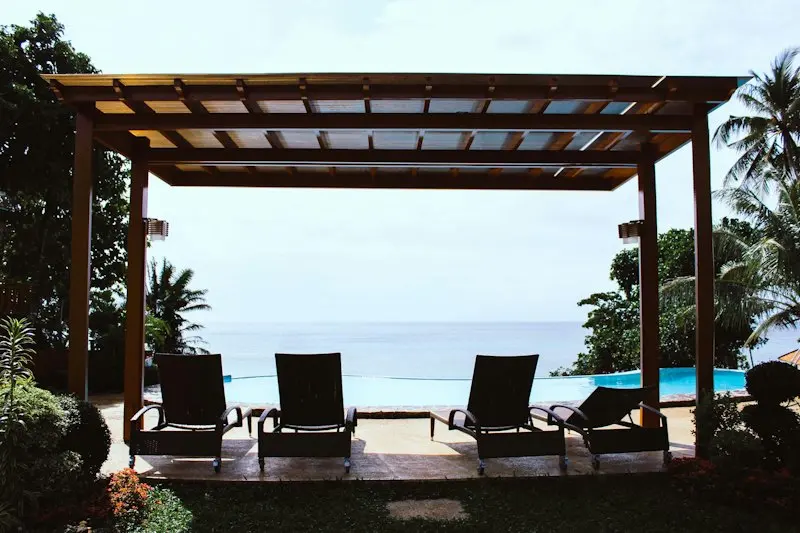
Short answer. Pick the size from your furniture, pick the material from the upkeep you accept, and make sure the kit can be anchored to the surface you have. Then read the parts list to see what is not in the box.
Key facts
- A pergola kit usually includes posts, beams, rafters or louvers, brackets and fasteners, but often not the anchors, the concrete for footings or the tools.
- A 10 by 10 foot pergola kit typically fits a bistro set or a small round table for four, and a 10 by 12 or 12 by 12 foot kit typically fits a dining table for six.
- The size in a pergola kit's name is usually the roof measured to the rafter tips, and the posts stand closer together.
- The height under the beam of a pergola kit is commonly about 7 to 8 feet.
- Most pergola kits call for two adults, and makers often quote about a day of assembly for a mid-size wood or aluminum kit.
What a kit includes
A pergola kit is a set of parts cut and drilled at the factory. You get posts, beams, rafters or louvers, brackets and fasteners, plus a manual. A DIY pergola kit is the same thing, sold for assembly by the buyer.
Items that are often missing from the box:
- Anchors matched to your surface, such as concrete wedge anchors or structural screws for a deck.
- Concrete and forms for footings.
- Ladders, a drill, a level and sockets.
- Stain or sealer for unfinished wood.
- A canopy, curtains or lighting, which are usually sold as extras.
Some sellers offer a hardware-only kit: brackets and screws, and you buy the lumber locally. It costs less to ship but you do the cutting.
Common sizes
| Nominal size | What typically fits | Posts |
|---|---|---|
| 8 × 8 or 8 × 10 ft | Two chairs and a side table, or a grill station | 4 |
| 10 × 10 ft | Bistro set or a small round table for four | 4 |
| 10 × 12 or 12 × 12 ft | Dining table for six | 4 |
| 12 × 16 ft and larger | Dining plus a seating area | 4 or 6 |
The size in the name is usually the roof, measured to the rafter tips. The posts stand closer together. Our sizing guide covers post footprint and clearance in more detail. Also check the height under the beam, which is commonly about 7 to 8 feet.
Freestanding or attached
A freestanding kit has four or more posts and can go anywhere on the lot. It needs solid anchoring at every post because nothing else holds it up.
An attached kit has posts on one side only. The other side hangs from a ledger board bolted to the house. It saves space and posts, but it puts load on your wall and breaks the siding, so it calls for flashing and often a permit. Read attached vs freestanding pergolas before choosing this route.
Anchoring
A pergola that is not anchored can shift or tip in wind. How you anchor depends on what is under the posts:
- Concrete slab: post bases bolted down with concrete anchors. The slab must be thick and sound enough to hold them. A thin or cracked slab is a reason to pour footings.
- Bare ground: concrete footings below the frost depth for your area, with post bases set on top or posts set in the footing as the manual allows.
- Wood deck: posts fixed over joists or added blocking, never to deck boards alone. The deck also has to carry the weight.
- Pavers: footings under the post positions, with the pavers cut around them.
Frost depth and footing size are local rules. Ask the building department.
Assembly
Most kits call for two adults. Makers often quote about a day for a mid-size wood or aluminum kit, and more for large or louvered ones. Treat that as a best case for people who have done it before.
- Sort and count the parts against the list before you start.
- Mark the post positions and check the diagonals so the layout is square.
- Stand the posts, brace them, then lift the beams with a helper on each end.
- Check level and plumb before tightening the fasteners.
- Fit the rafters, then anchor the posts for good.
What to check before ordering
- Exact dimensions: roof size, post-to-post size and height.
- Material and finish: see wood, aluminum, steel and vinyl compared.
- Post size and wall thickness: thicker posts and metal are generally stiffer. Compare like with like.
- Wind and snow ratings: if published, and under what anchoring.
- Shipping weight and delivery: large kits arrive in several heavy boxes, often dropped at the curb.
- Warranty: what it covers and what voids it, such as leaving a canopy up in winter.
- Permit and HOA: confirm with the local building department and your HOA before the kit ships.
We compare published specs only. The spec sheet and manual of the exact model have the final word.
Common questions
What does a pergola kit include?
Usually posts, beams, rafters, brackets and fasteners, cut and drilled to fit. Anchors for your specific surface, concrete for footings and tools are often not included. Read the parts list.
Can I assemble a DIY pergola kit myself?
Most kits are designed for two adults with common tools. Makers often quote about a day for a mid-size kit, and longer for large or louvered models. Lifting beams overhead is the hard part, so do not plan to work alone.
Can a pergola kit sit on pavers?
Pavers alone are not a solid anchor because they can lift. A common approach is to set concrete footings under the post positions, or to follow the method in the manual. Check what the maker allows.
What size pergola kit should I buy?
Start from the furniture. A 10 by 10 foot kit suits a small table or two chairs, 10 by 12 or 12 by 12 suits a dining set for six. Check both the roof size and the post footprint.